|
|
|---|
There are many webpages on how to build a UV cleaning box, but how do you know the device is actually working??
How long should the light be on?
How well do my UV lights work?
Is it really even delivering the needed UVC light?
The answer is obvious => MEASURE IT
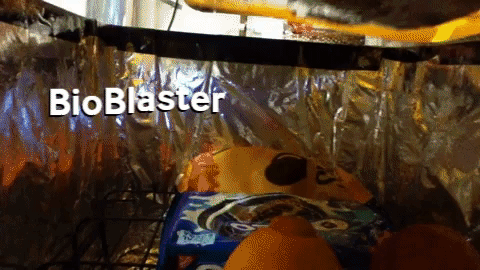
This BioBlaster tutorial will show you how to build a lightbox and make a simple device to measure your UVC santitizer's performance in real time,
and even notify you when the proper dosage has been delivered.
No more guesswork!
No more crossing your fingers!
It's all pre-configured for you!
Real time UVC level and accumulated dosage tracking and display!
Comes with "done-cooking" notification!
Innovatoin for a safer world!

| NOTE: UVC light is low wavelength and high energy. It is dangerous and will damage your skin and eyes. Leave the container closed during the sanitization cycle. Also make sure to wear eye protection to specifically block UVC along with thick gloves/clothing. |
Did you know:
UVC light is completely blocked by the atmosphere. Broad spectrum suncreen only blocks UVA/UVB. |
 WARNING: You are working with electricity and UV light.
This webpage is provided for educational and informational purposes only.
You accept all responsibility and liability for the use of this website.
WARNING: You are working with electricity and UV light.
This webpage is provided for educational and informational purposes only.
You accept all responsibility and liability for the use of this website.
|

|
This is the 13W UVC light I am using from Amazon. Make sure the light you use is specifically a UVC light with wavelength of 200-280nm. | 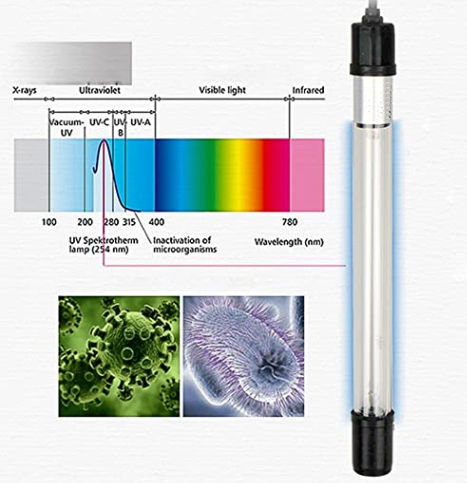
|
| NOW your box should look something like this....
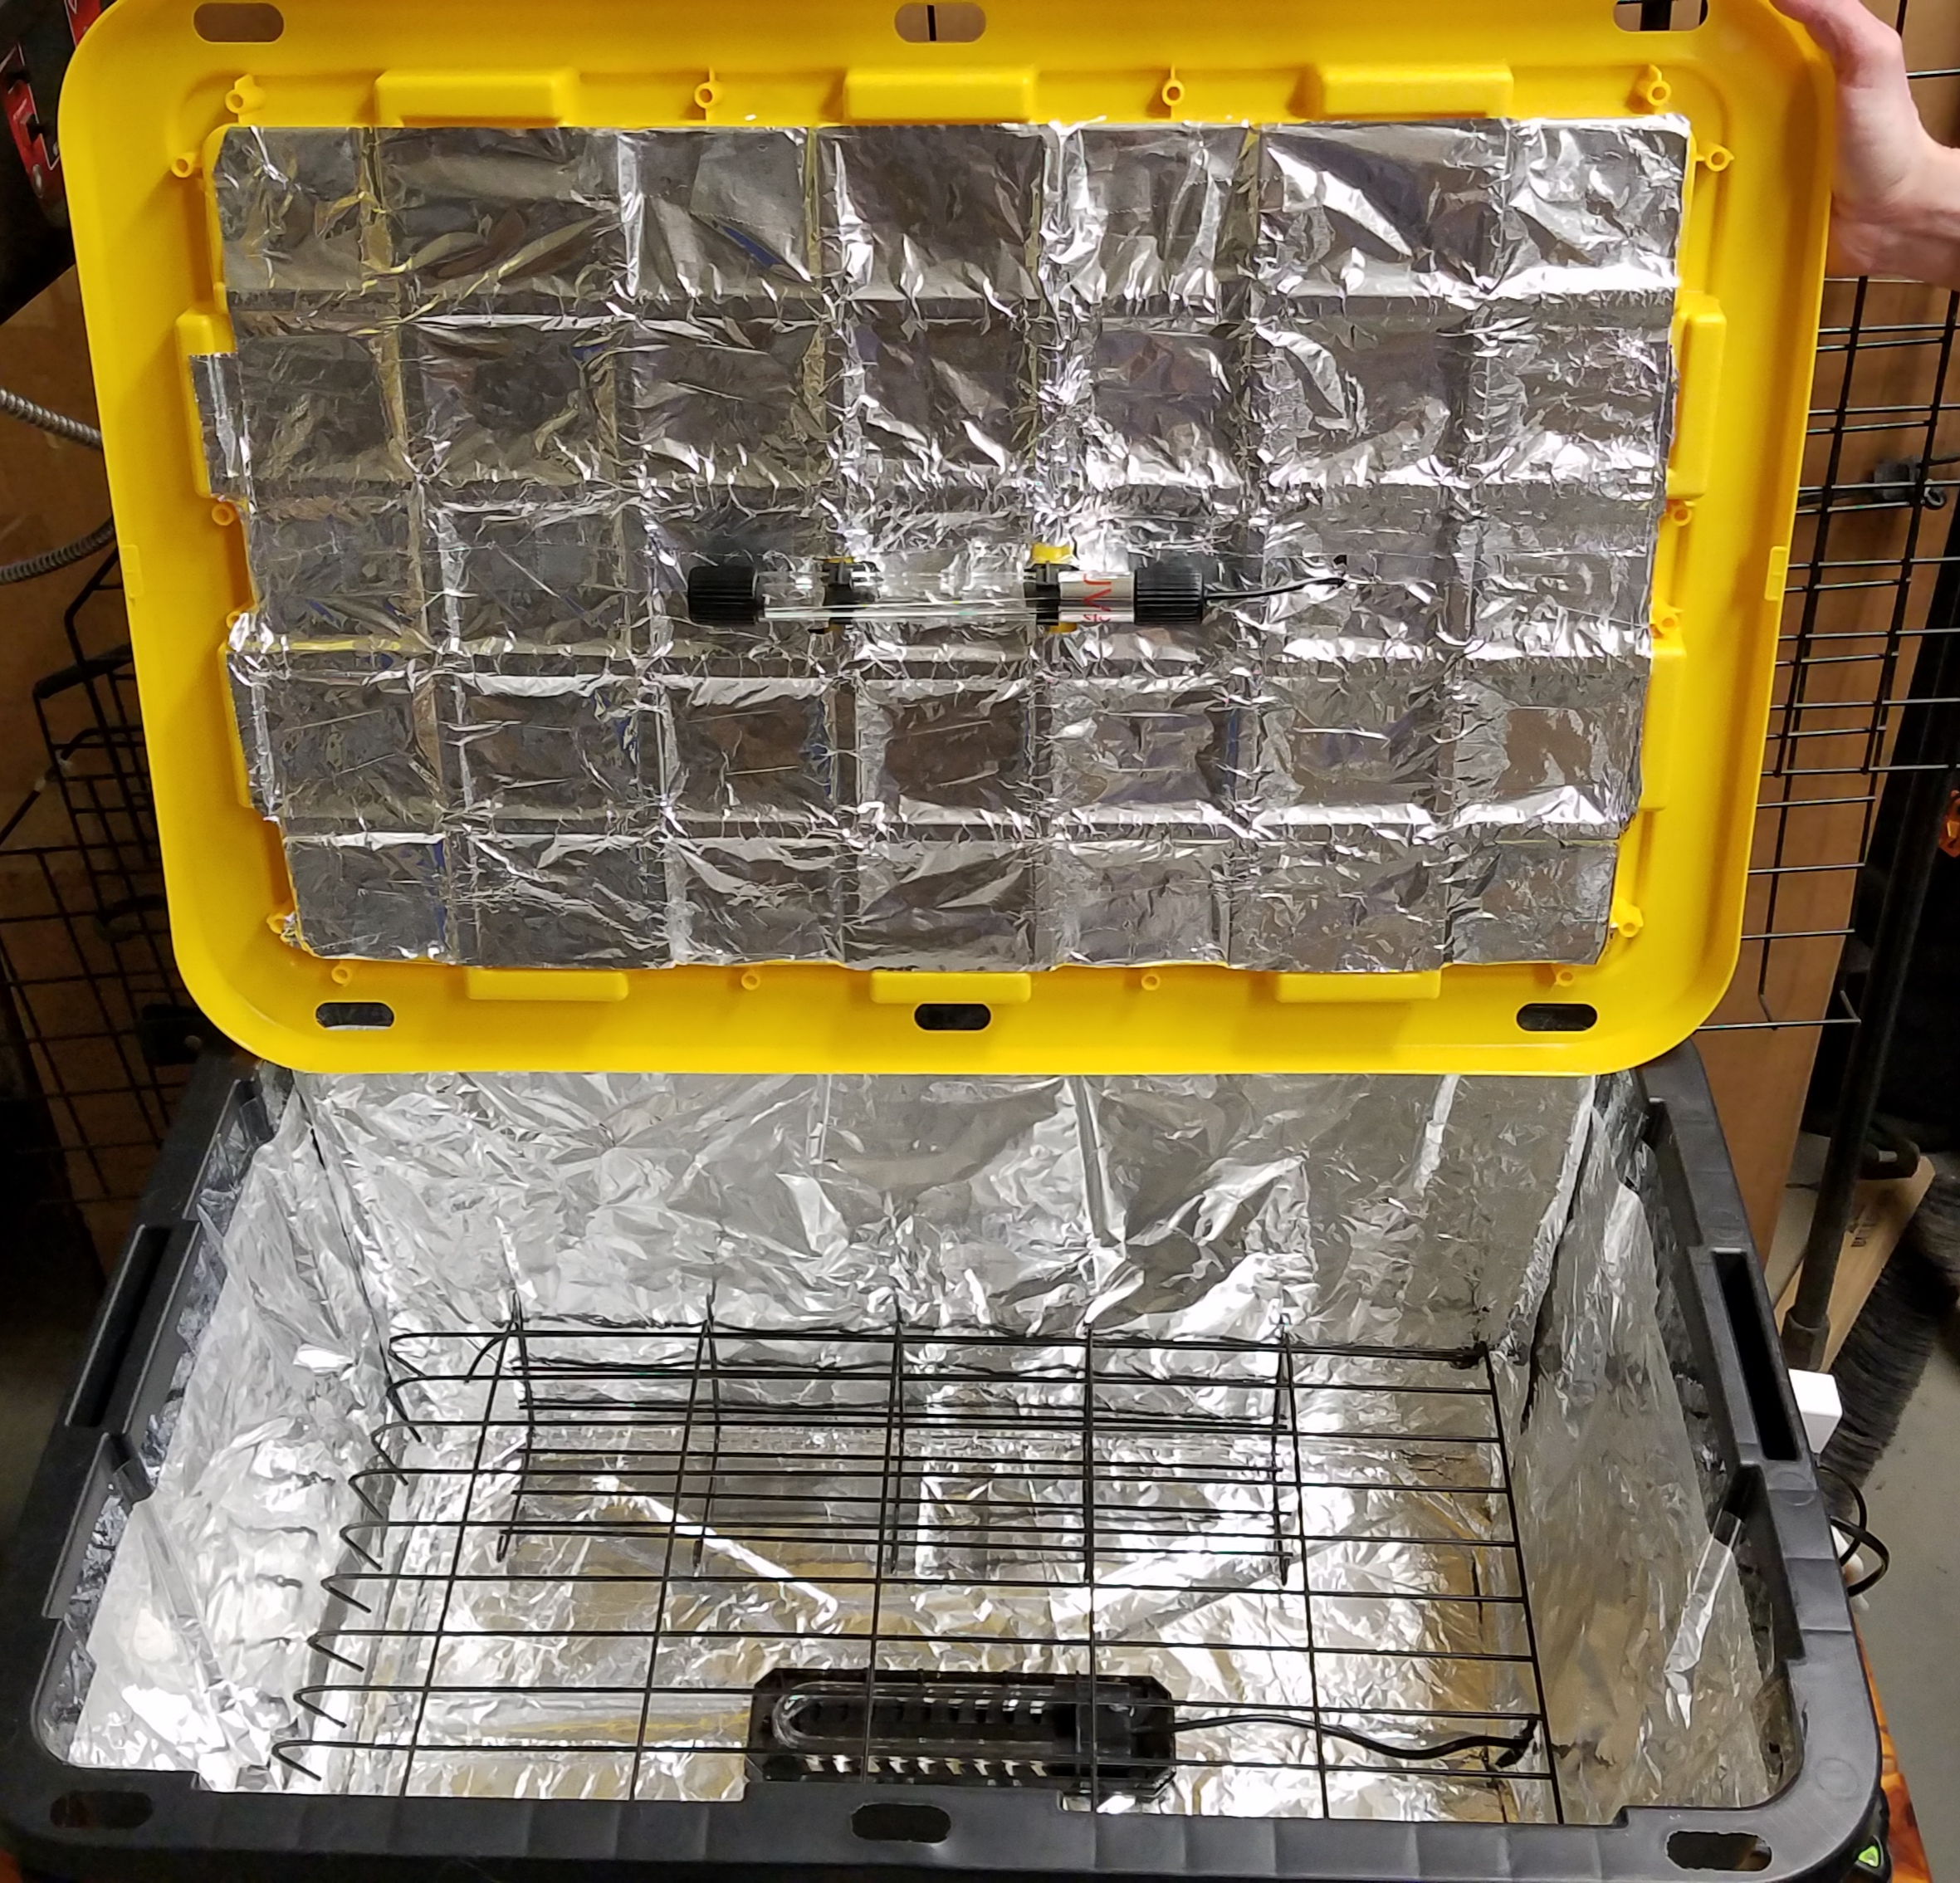 |
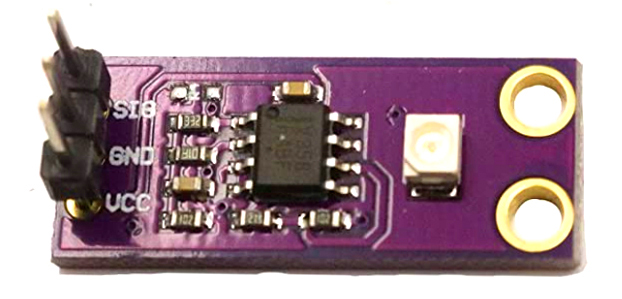
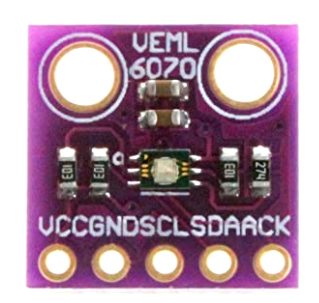
| Now the major hardware components for light sensing and display measurements. | Arduino Nano board | 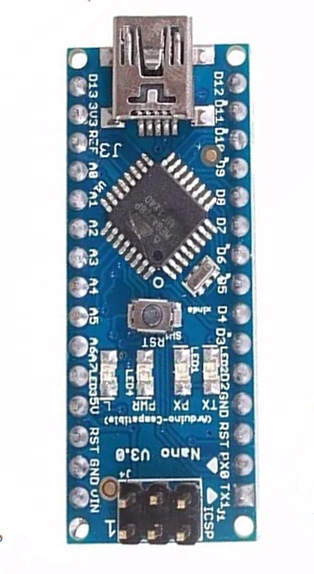
|
Display | 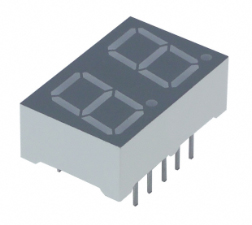
|
GUVA board |
|
VEML board |
|
Other components
Hardware assembly
I want to give credit to Akiba for his informational webpage
on building a NukeMeter. He also provided GUVA chip UVC calibration using equipment I didn't have. I added to his work and
built readout displays and the ability to configure the Arduino program for different types of sanitization. I also
added a separate VEML sensor to make sure lights being used did not output UVA/UVB
| Click on images below to enlarge | ||
| 1. Modify the GUVA board resistors | 
|
|
| 2. Use pinout connections diagram for soldering of all components. | 
|
|
| 3. Attach display to Arduino board | 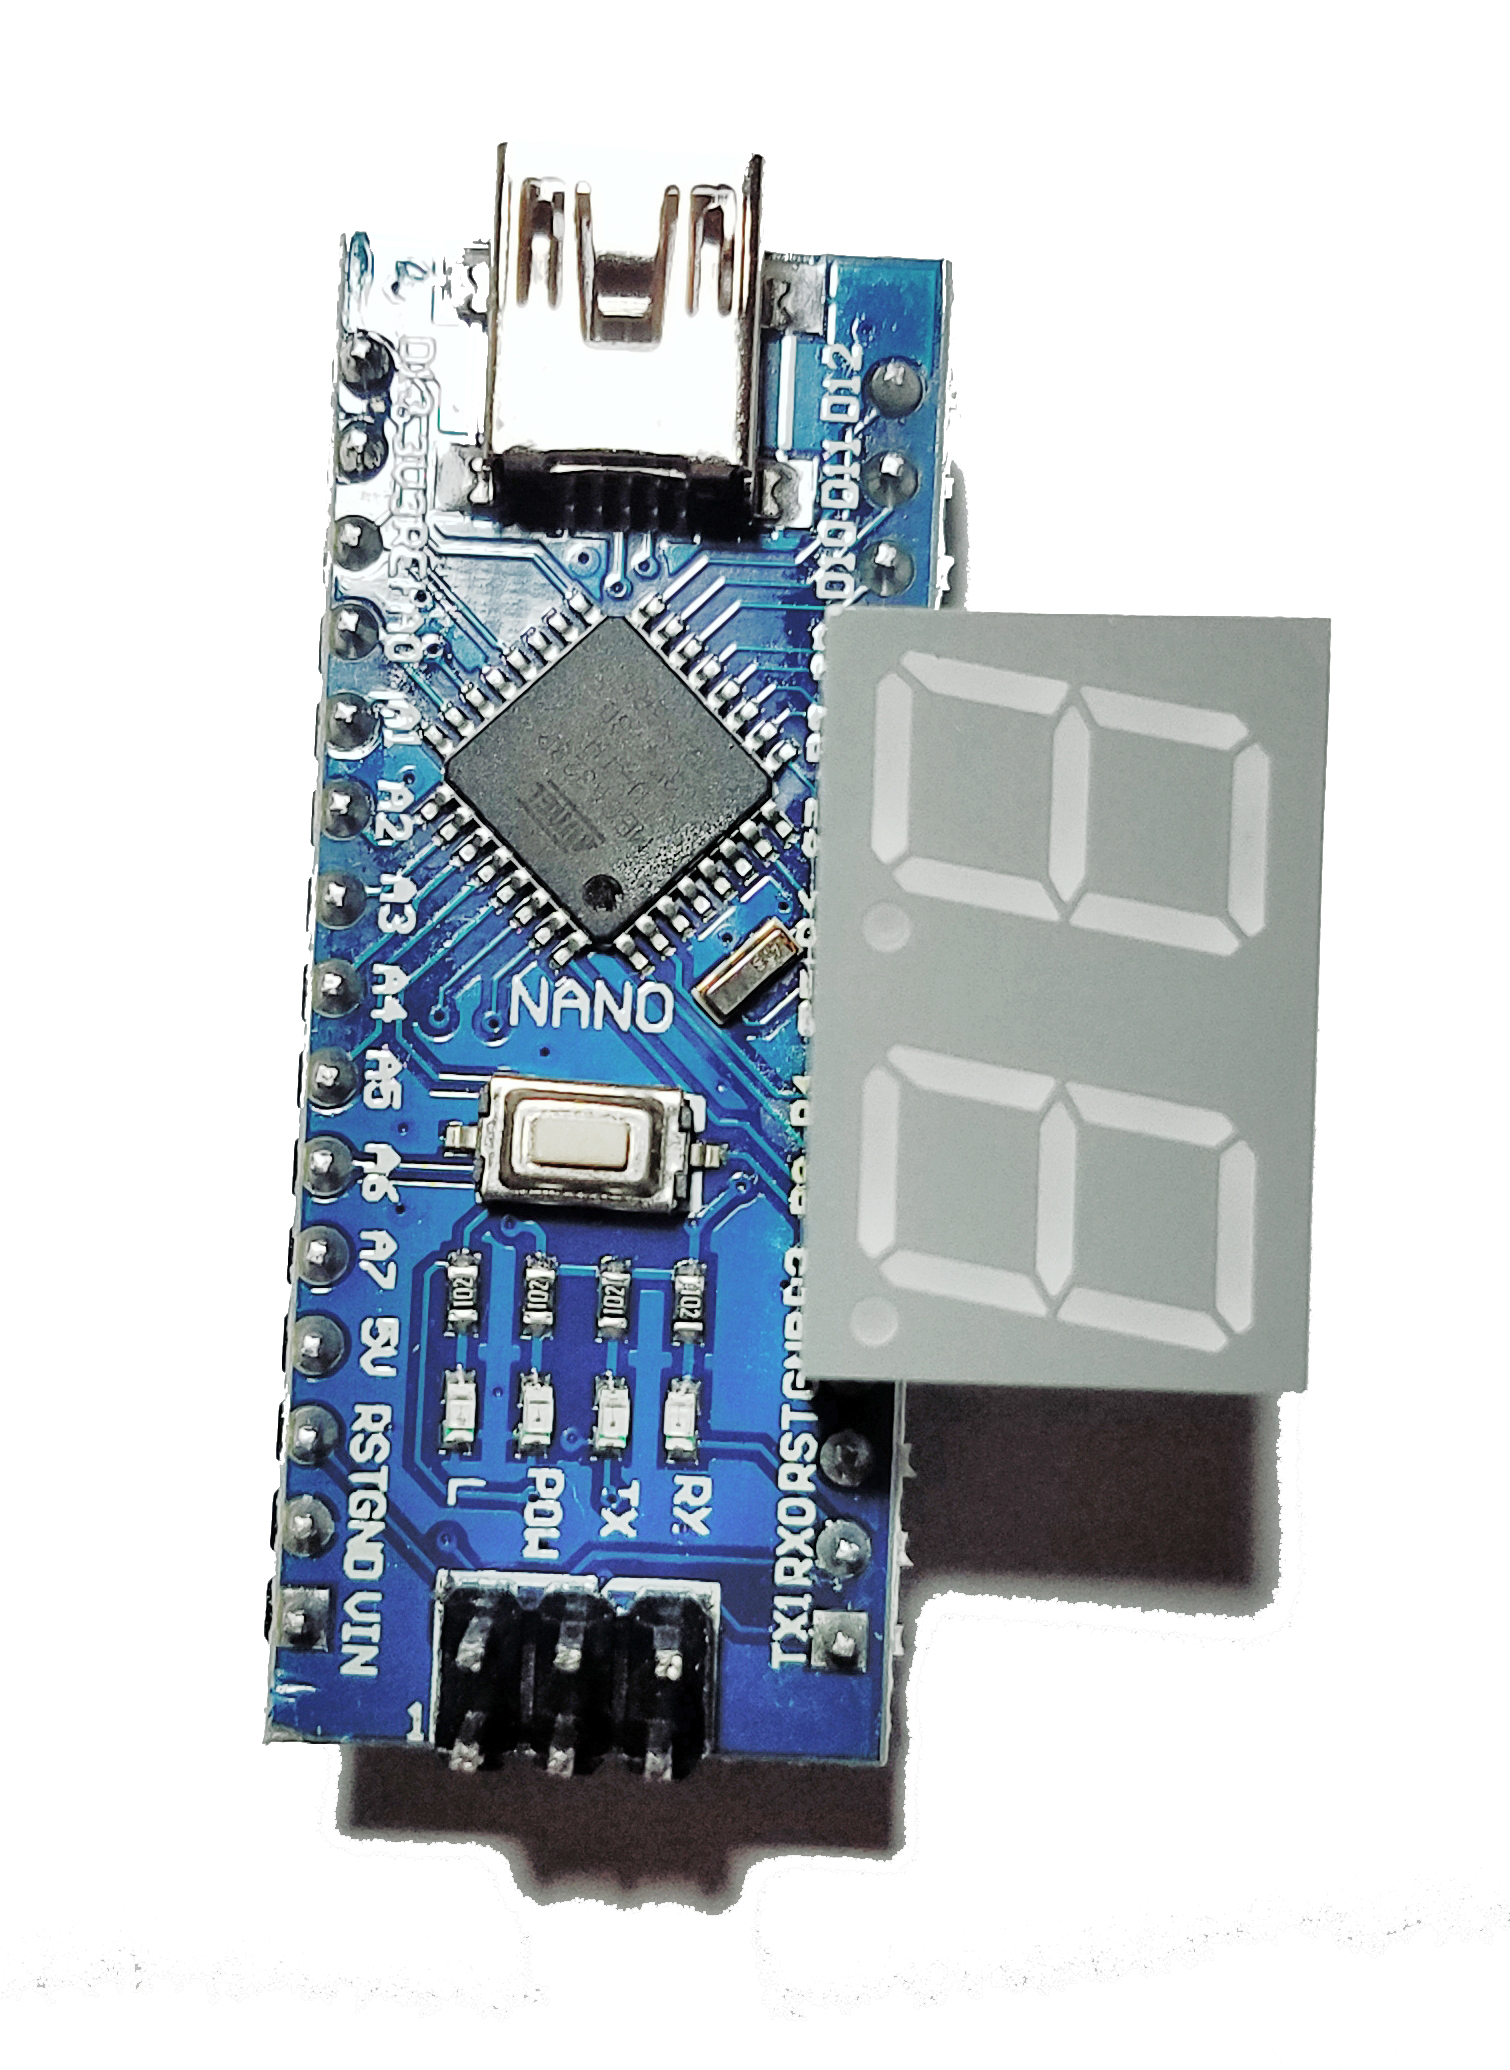 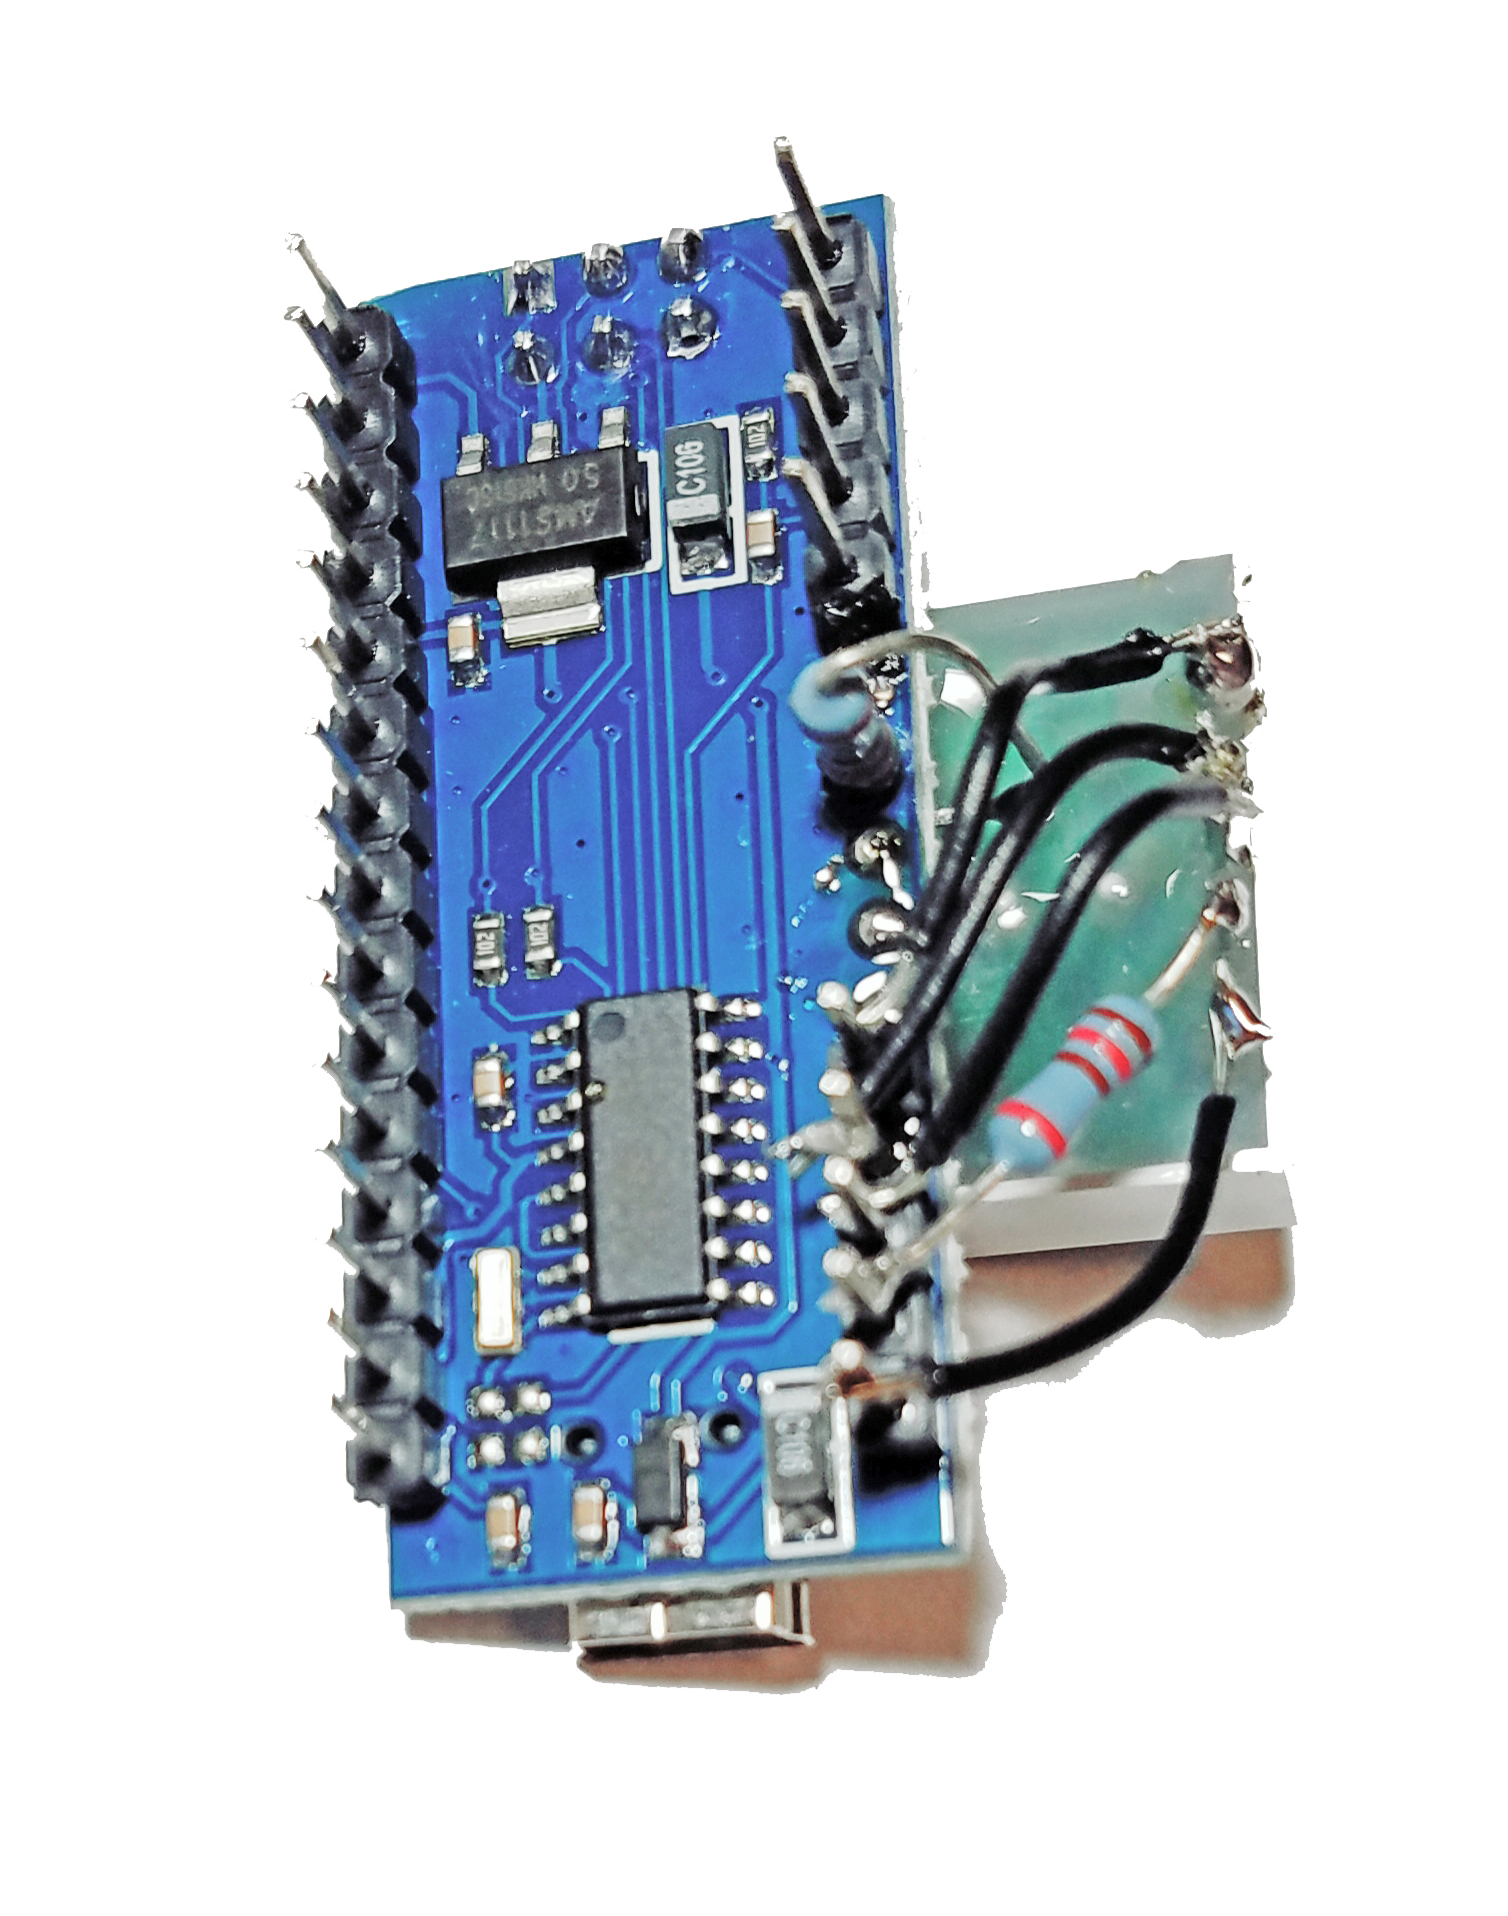
|
|
| 4. Connect VEML and GUVA boards to Arduino board | 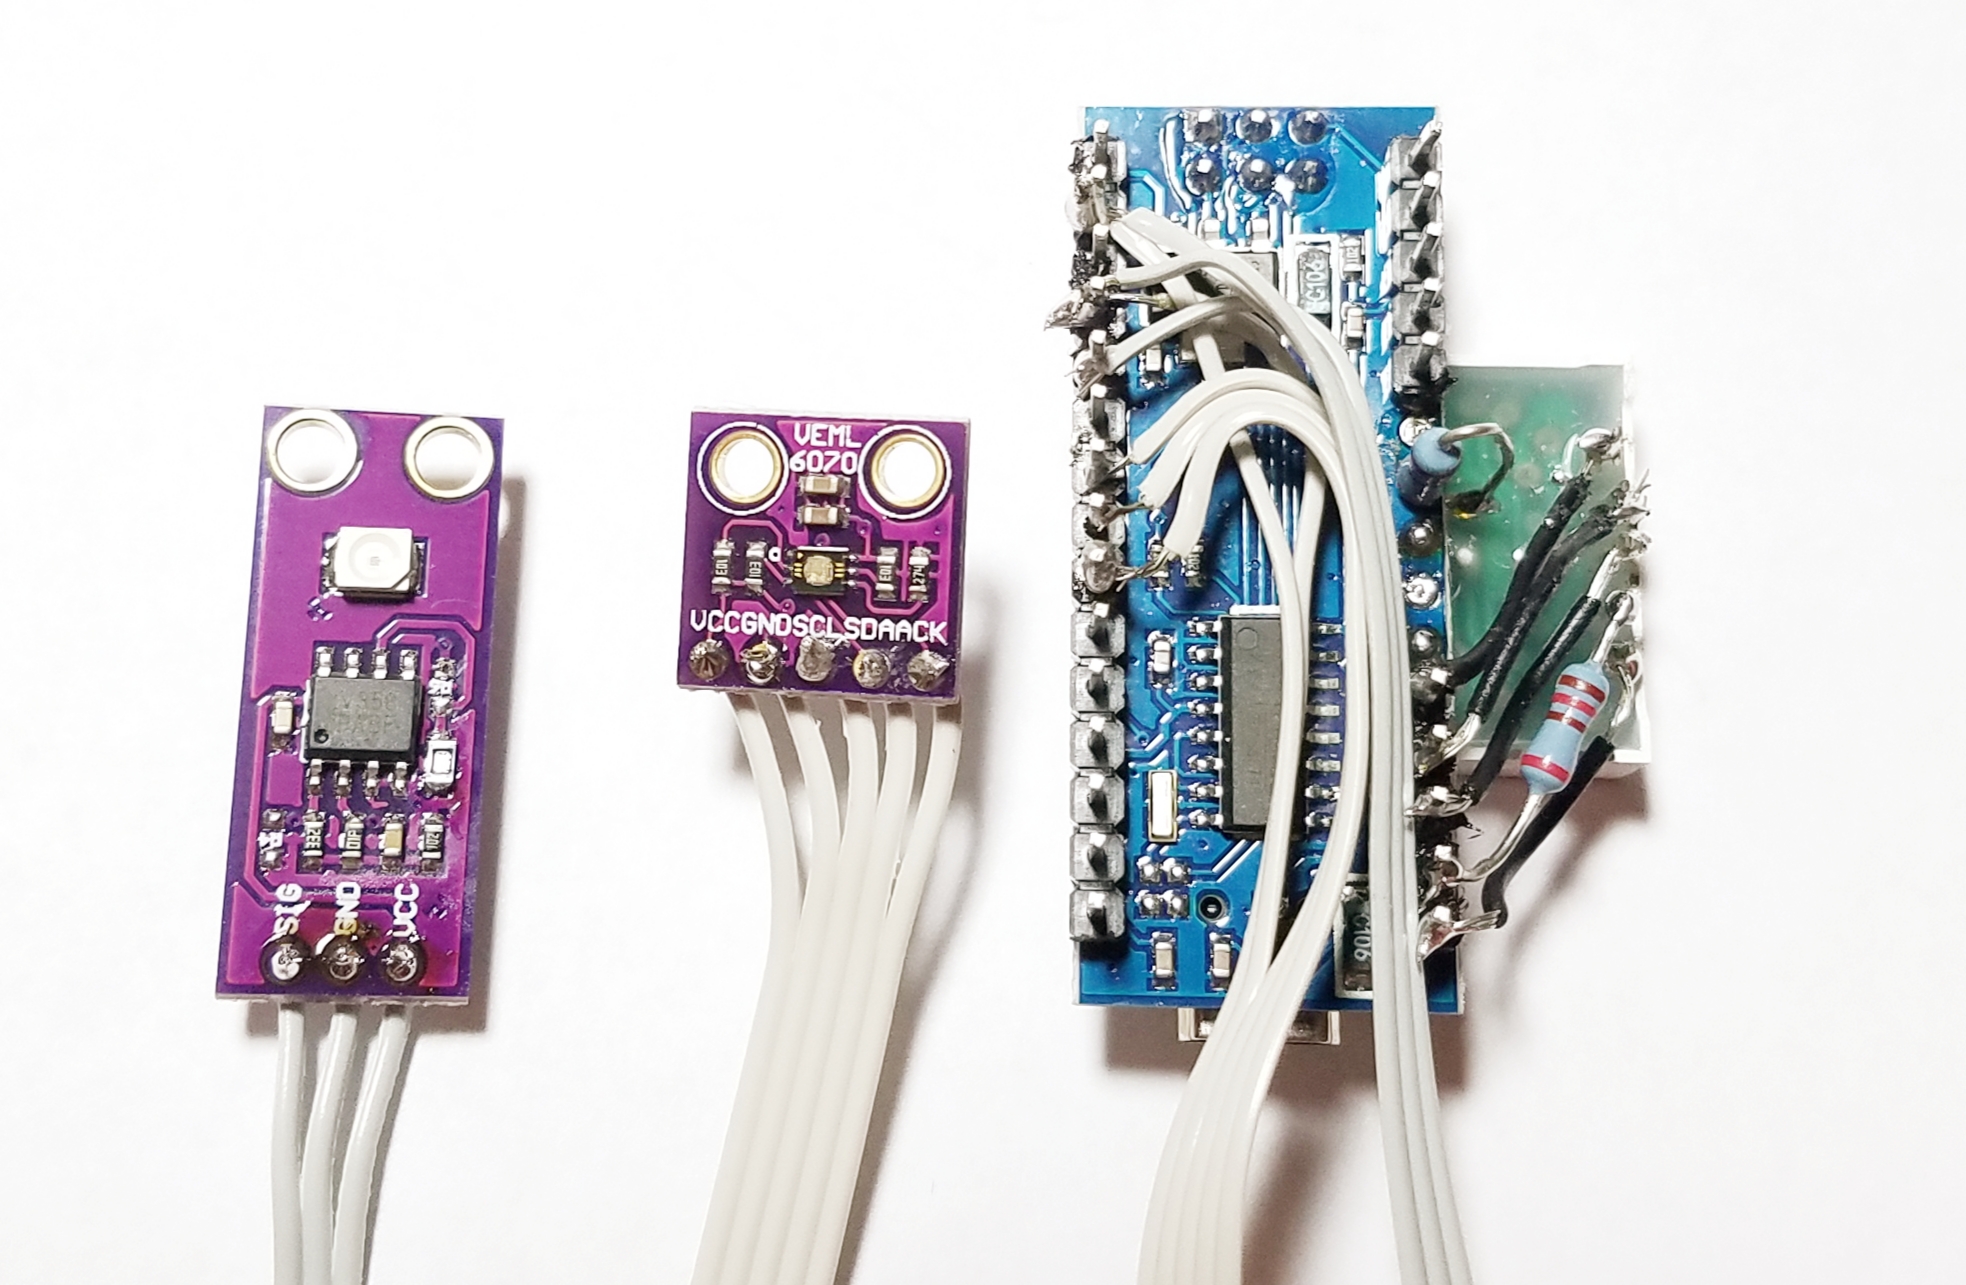
|
|
| 5. Test your connections for opens and shorts. | Use Ohm Meter to verify everything is connected properly |
|
| 6. Bonus points for printing the 3D case |
 
|
 |

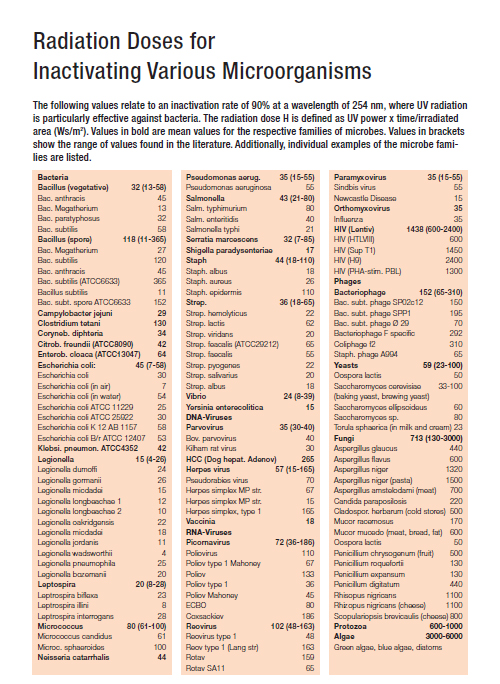
Dosage requirements
Bacteria and viruses are more fragile than fungi and algae
as the latter 2 have thick leathery outer layers to protect them from the environment.
This shows in the time it takes to inactivate. Below is the reference 90% inactivation chart from
Osram,
and how to calculate 99.9% - 99.99% inactivation also from Osram.
|

|
Did you know:
The maximum safe UVC dosage for food products is defined by the FDA at 12000 mWs/cm2. You only need ~20mWs/cm2 to wipe out 99.9% of coronovirus. This assumes UVGI reference link value of ≤ 5mJ/cm2 which is ≤ 5mWs/cm2 is the 90% inactivation rate. |
| Light Source | Location | Sensor direction | Intensity (NO Aluminum Foil) | Intensity (WITH Aluminum Foil) |
| Top light 13W | Centered 6.5" from top | Face up | 0.35 mW/cm2 | 0.51 mW/cm2 |
| Top light 13W | Centered 4" from top | Face up | 0.94 mW/cm2 | NA |
| Top & Bottom lights 13W 22W | Centered 6.5" from top | Face up | 0.35 mW/cm2 | 0.66 mW/cm2 |
| Top light 13W | Corner 13" from top center | Vertical facing inward | 0.03 mW/cm2 | 0.13 mW/cm2 |
| Top & Bottom lights 13W 22W | Corner 13" from top center | Vertical facing inward | 0.09 mW/cm2 | 0.37 mW/cm2 |
The web hosting for this page has been donated by SplashTiles. SplashTiles provides FREE digital signage and consolidated information screen for your TVs. More information here.


Now you are in the home stretch
Arduino provides basic microprocessor programming language similar to C.
The VEML board screens out defective/counterfeit lights by detecting UVA/UVB.
The GUVA board measure the UVC light.
The Arduino board is programmed to calculate intensity and total dosing. It uses the Osram table to
determine when sanitize is complete based on the 99.9% equations.
Here is the Arduino code you can download and use. This has original code from Akiba and additions from me. You will need to download the Wire, SevSeg, and TimerOne libraries as well. All calculations are completed using dosage levels in Ws/m2, and the default dosage setting in the Arduino code is 300 Ws/m2, which is the 99.9% inactivation dosage, so it would be comparable to 100 Ws/m2 in the Osram dosage chart.
How to interpret results
The left digit of the display gives progress tracking of 0-9 and C. 0 is for 0%, 9 is for 90%, and C for complete. The right digit gives the intensity level.
0 for none, L is low, 1-9, and then F for very high. The reading starts at 00 until the light starts to warm up.
A reading of CL means the sanitize cycle is C for complete and L for low level intensity. Right digit of L or 1 is expected at the far corner of the lightbox. Reading might even be 0 while the light is warming up.
For more detailed information, use the Serial Monitor in the Arduino compiler for exact numeric values for UVC while the Arduino is running. Info shown are UVA/UVB detected by VEML, UVC intensity level by GUVA, and total accumulated dosage.
Sometimes units are converted to mW/cm2 as necessary for calculations. Here are the conversion factors for completeness. You will not need to perform calculations which are done for you.
1mJ = 1mWs (1 milli-Watt second)
1Ws/m2 = time (seconds) * 1,000 mW / 10,000 cm2 = time (seconds) * 0.1 mW /cm2
THAT"S IT!! YOU HAVE COMPLETED THE BIOBLASTER PROJECT. ENJOY!!
Food for thought:
Copyright 2020. You accept all responsibility and liability for the use of this website. As an Amazon Associate I earn from qualifying purchases.